Paper Clip Embroidery: Elevating Simple Designs with Professional Precision
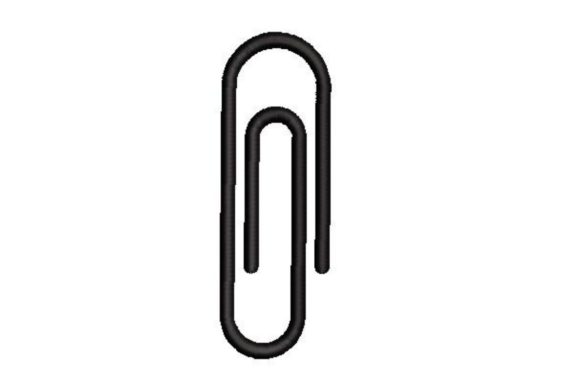
In the vast world of machine embroidery, it is easy to get lost in complex digitizing software and intricate multi-color patterns. However, some of the most impactful designs are rooted in simplicity. The Paper Clip motif is a prime example of this understated elegance. At first glance, it may seem too basic to warrant attention, but when applied correctly, it serves as a versatile tool for both professional branding and whimsical personal projects. Whether you are looking to add a subtle corporate touch to a notebook cover or create a playful smiley-face character for a child’s backpack, understanding how to execute this design properly is essential for high-quality results.
Why the Humble Paper Clip Deserves Your Attention
The appeal of a paper clip design lies in its universal recognition and clean lines. For entrepreneurs and small business owners, it represents organization, professionalism, and attention to detail. When embroidered on office accessories, tote bags, or uniform pockets, it communicates a sense of order without being overtly corporate. On the creative side, the curved wire shape provides an excellent canvas for customization. By simply adding two dots for eyes and a curved line for a mouth, you transform a static office supply into a lively character. This duality makes the Paper Clip design a valuable asset in any digital library, appealing to educators, hobbyists, and marketers alike.
However, simplicity can be deceptive. Many beginners assume that because the shape is simple, the embroidery process will be effortless. This misconception often leads to poor stitch quality, puckering fabric, and wasted materials. To help you avoid these pitfalls, we need to look closely at common mistakes and how to correct them before you even thread your needle.
Common Mistakes That Compromise Quality
One of the most frequent errors involves ignoring the scale of the design relative to the fabric. A paper clip is a thin, linear object. If you attempt to embroider it too small on a thick material like denim or canvas, the details will vanish, resulting in a blob of thread rather than a recognizable shape. Conversely, stitching it too large on delicate silk or chiffon can cause the fabric to pucker severely due to the density of the satin stitches typically used for wire-like effects.
Another overlooked detail is the choice of stabilizer. Many users treat all embroidery projects the same, using a standard cut-away stabilizer for everything. For a design like this, which relies on smooth, continuous curves, the wrong stabilizer can cause the threads to shift or the fabric to distort. Without proper support, the "wire" effect loses its crispness, looking jagged and unprofessional.
Additionally, there is a misunderstanding about file formats. A classic paper clip design that comes with multiple embroidery file formats is incredibly useful, but only if you choose the right one for your machine. Using a generic format that requires conversion can introduce stitching errors, such as jumped stitches or incorrect trim commands, which disrupt the flow of the design.
How to Avoid Pitfalls and Achieve Professional Results
To ensure your project turns out beautifully, start by testing the design on a scrap piece of the exact fabric you intend to use. This step is non-negotiable. It allows you to adjust tension and check for puckering before committing to your final piece. If you notice the fabric pulling, switch to a heavier stabilizer or reduce the stitch density in your editing software.
- Check Stitch Density: Ensure the satin stitches are not too dense for lightweight fabrics. Lowering the density can prevent stiffness and distortion.
- Select the Right Needle: Use a sharp needle for woven fabrics and a ballpoint for knits. A dull or incorrect needle can damage the fabric and cause thread breaks, ruining the smooth lines of the clip.
- Verify File Compatibility: Since this machine embroidery design comes with multiple embroidery file formats, always select the native format for your specific brand of machine (e.g., PES for Brother, JEF for Janome) to minimize conversion errors.
When creating the funny variation with a smiley face, pay attention to the placement of the facial features. They should be proportionate to the width of the clip. If the eyes are too wide or the mouth too narrow, the character may look distorted. Use your hoop’s grid lines to center the design perfectly, ensuring symmetry is maintained throughout the stitching process.
Maximizing Versatility Across Projects
The true value of this design is its adaptability. For professionals, consider using metallic thread to mimic the actual shine of a steel paper clip. This adds a tactile and visual realism that elevates the perceived value of the item. For educators and parents, using bright, contrasting colors for the smiley face version can make learning materials more engaging for children. You can even combine multiple clips in different orientations to create a border pattern for shirts or aprons.
Before making a decision on which design to purchase or download, evaluate the sample images provided by the creator. Look for clear, close-up shots that show the stitch quality. A reputable designer will provide information on recommended fabric types and stabilizers. If this information is missing, proceed with caution. High-quality designs save time and reduce frustration, whereas poorly digitized files can lead to endless troubleshooting.
Final Checks Before You Stitch
Always review the color sequence and stop points in your machine’s preview mode. Some designs require manual thread changes or trimming between sections. Knowing this in advance prevents surprises mid-stitch. Also, ensure your bobbin thread matches the top thread or is a neutral color that blends well, especially if the back of the embroidery will be visible.
By paying attention to these details, you transform a simple concept into a polished product. The Paper Clip design is more than just a shape; it is a test of your precision and creativity. Whether you are aiming for a sleek, professional aesthetic or a lighthearted, fun look, the principles of proper stabilization, correct scaling, and careful file selection remain the same. Embrace the simplicity, respect the technical requirements, and let your embroidery machine do what it does best.
Remember, the goal is not just to complete a project, but to enjoy the process and be proud of the result. With the right approach, this classic design can become a staple in your portfolio, demonstrating that even the smallest details can make a significant impact. Keep experimenting, keep learning, and let your creativity unfold one stitch at a time.