Integrating Addition Wheel 4 into Educational and Creative Workflows
In the intersection of early childhood education and digital design, finding resources that serve both pedagogical and aesthetic purposes is a constant challenge for educators, content creators, and small business owners. Addition Wheel 4 represents a specific niche within this landscape: a machine embroidery design that transforms abstract mathematical concepts into tangible, tactile learning aids. While it may initially appear as a simple decorative asset, its utility extends far beyond mere ornamentation when integrated thoughtfully into classroom environments, homeschooling curricula, or educational product lines.
For professionals managing educational projects, the implementation of such assets requires a clear understanding of their functional role. This article explores how to effectively incorporate Addition Wheel 4 into your workflow, ensuring that the final output supports learning objectives while maintaining high production standards.
Understanding the Asset and Its Pedagogical Role
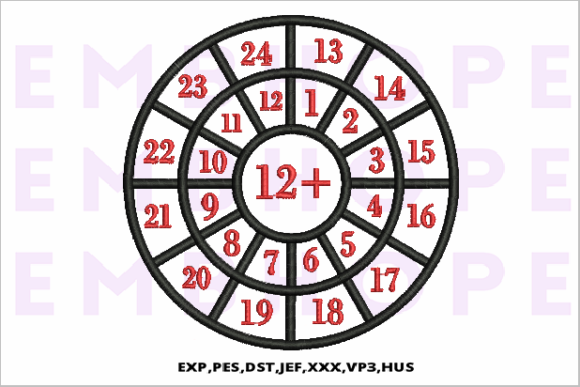
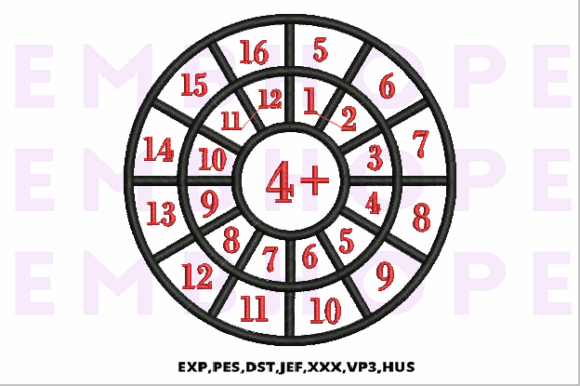
Before digitizing or stitching, it is essential to understand what Addition Wheel 4 actually delivers. It is a visual representation of addition facts, typically arranged in a circular format that allows students to visualize number relationships dynamically. Unlike static worksheets, an embroidered wheel offers texture and durability, making it suitable for high-traffic areas like classrooms or playrooms.
From a workflow perspective, this design fits into the "resource creation" phase of an educational project. Whether you are a teacher preparing your classroom for the new term, a blogger creating DIY educational decor tutorials, or an entrepreneur selling handmade educational tools, this asset serves as a bridge between curriculum requirements and physical environment design. The "bright and cheery" nature of the design is not just an aesthetic choice; it is a psychological tool intended to reduce math anxiety and encourage engagement through positive visual cues.
Pre-Production Planning and Compatibility Checks
The most critical step in using any machine embroidery design is verifying compatibility. Addition Wheel 4 comes with multiple embroidery file formats, which is a significant advantage for users with diverse hardware setups. However, assuming universal plug-and-play functionality can lead to costly errors in time and materials.
- Machine Compatibility: Identify the specific format required by your embroidery machine (e.g., PES, DST, JEF, EXP). Using the wrong format can result in read errors or distorted stitching patterns.
- Hoop Size Assessment: Measure your available hoop sizes against the design dimensions. Addition Wheel 4 likely requires a medium to large hoop to maintain legibility of the numbers and structural integrity of the wheel spokes.
- Fabric Selection: Consider the end-use. For classroom walls, sturdy cotton or canvas works well. For interactive items like plush toys or wearables, consider stretch factors and stabilizer requirements.
This preparation phase prevents bottlenecks later in the process. By confirming technical specifications upfront, you ensure that the creative execution proceeds without interruption.
Implementation Strategies for Different User Profiles
The versatility of Addition Wheel 4 allows it to be deployed in various contexts. Here is how different professionals can integrate this asset into their specific workflows.
For Educators and Classroom Designers
Teachers can use these designs to create a cohesive "math corner" or learning station. Instead of printing paper posters that tear and fade, embroidered wheels can be stitched onto fabric panels that hang at eye level for young students. The tactile nature of embroidery invites touch, which can be beneficial for kinesthetic learners. You might create a series of wheels covering different addition ranges, using Addition Wheel 4 as part of a progressive learning wall. This approach turns passive decoration into an active learning tool that withstands daily interaction.
For Content Creators and Bloggers
If you produce educational content, Addition Wheel 4 offers a unique angle for tutorials. You can document the process of digitizing, stabilizing, and stitching the design, providing value to your audience who may be looking for similar resources. The "bright and cheery" aesthetic makes for highly shareable social media content. By showing the design in situ—embroidered on a backpack, a lunchbox, or a classroom banner—you demonstrate practical application, which increases engagement and perceived value.
For Small Business Owners and Entrepreneurs
For those selling handmade goods, this design can be part of a broader product line focused on educational toys or decor. Consistency is key here. If you offer custom embroidery services, having a library of reliable, tested designs like Addition Wheel 4 allows for quicker turnaround times. You can market these items as premium, durable alternatives to mass-produced plastic educational tools. Emphasize the quality of the stitch and the thoughtfulness of the design in your product descriptions to appeal to parents and educators who value longevity and aesthetics.
Quality Control and Technical Constraints
A crucial aspect of working with digital embroidery assets is respecting their technical limitations. The provider explicitly notes that quality cannot be guaranteed when resizing or altering the design. This is a standard constraint in machine embroidery due to the relationship between stitch density, thread tension, and fabric type.
When integrating Addition Wheel 4 into your workflow, adhere to the following quality control measures:
- Avoid Resizing: Use the design at its intended size. If you need a larger or smaller version, look for a different design file specifically scaled for that dimension rather than stretching the existing one. Resizing can cause gaps in stitching, thread breaks, or distorted numbers that defeat the educational purpose.
- Test Stitching: Always run a test stitch on a scrap piece of the same fabric and stabilizer combination you plan to use for the final product. This allows you to check for registration issues and thread tension before committing to the final piece.
- Stabilizer Choice: Given the detailed nature of a wheel with numbers, proper stabilization is non-negotiable. Use cut-away stabilizers for stretchy fabrics and tear-away for stable woven fabrics to ensure the design remains crisp and readable.
Ignoring these constraints can lead to inconsistent outputs, which damages credibility for businesses and creates confusing learning materials for educators.
Long-Term Integration and Maintenance
Once Addition Wheel 4 is stitched and deployed, its lifecycle continues. For classroom settings, durability is a major benefit. Embroidered items can be wiped down and handled more roughly than paper equivalents. However, they still require occasional maintenance. Check for loose threads periodically, especially if the item is used interactively by children.
From a resource management perspective, keep a digital archive of the original files and your test stitch records. This documentation helps in replicating success for future projects. If you find that Addition Wheel 4 works well with a specific fabric-stabilizer-thread combination, standardize this setup for all similar educational designs. This standardization streamlines future production, reducing decision fatigue and material waste.
Conclusion
Addition Wheel 4 is more than a decorative file; it is a functional tool that, when used correctly, enhances educational environments and creative portfolios. By focusing on compatibility, respecting technical constraints, and aligning the design with specific user needs, you can maximize its value. Whether you are outfitting a classroom, creating content, or building a product line, the key lies in thoughtful integration. Treat the design as a component of a larger system, ensuring that every step from file selection to final stitching supports your ultimate goal of effective, engaging education.